Earlier this year I hit an exhibit at
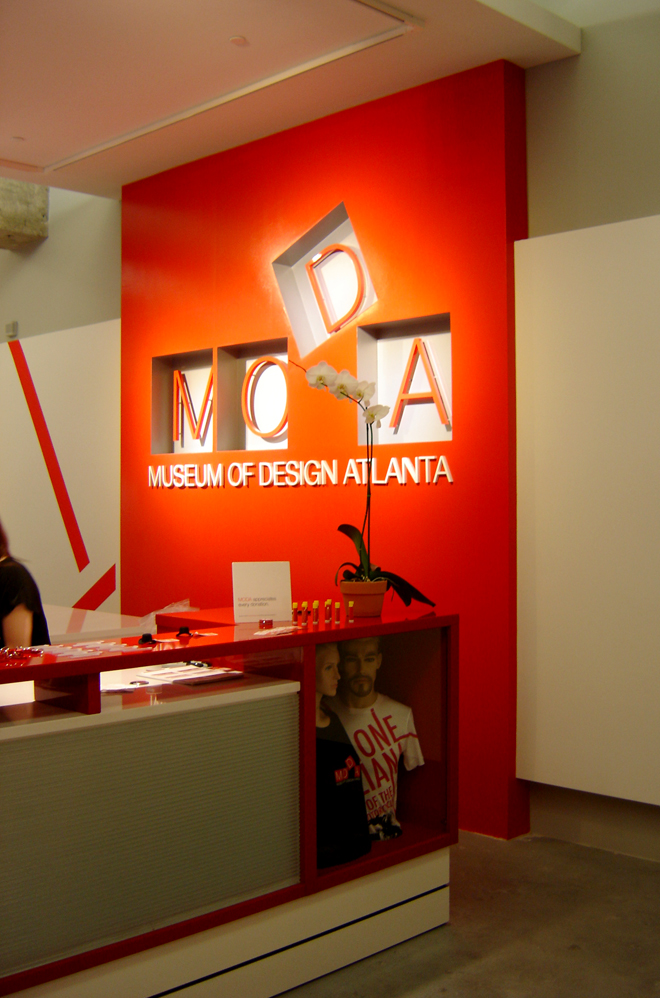
MODA (the Museum of Design Atlanta) - this was in conjunction with a
Yelp event.
First a couple of words on each - MODA was formerly the Atlanta International Museum and was located in the Suntrust Towers next to the Marriott Hotel downtown - it occupied two floors with offices and an exhibit hall on one floor and about the same space on another floor. I know a bit about it since I worked on two exhibits there: "Pop Goes the Plastic" (with my now-neighbor John Stephens) and "The Art of the Ndebele" (an exquisite show displaying this South African tribes' Mondrian-ish artistic forms and handmade articles). The last exhibit I saw at the old location featured the design work of Marcel Breuer including furniture pieces and some architectural renderings (plus a model!) - great stuff and of international quality. The new location is right across the street from the High Museum of Art on Peachtree Rd, so if you have time to visit both I would recommend it.
 |
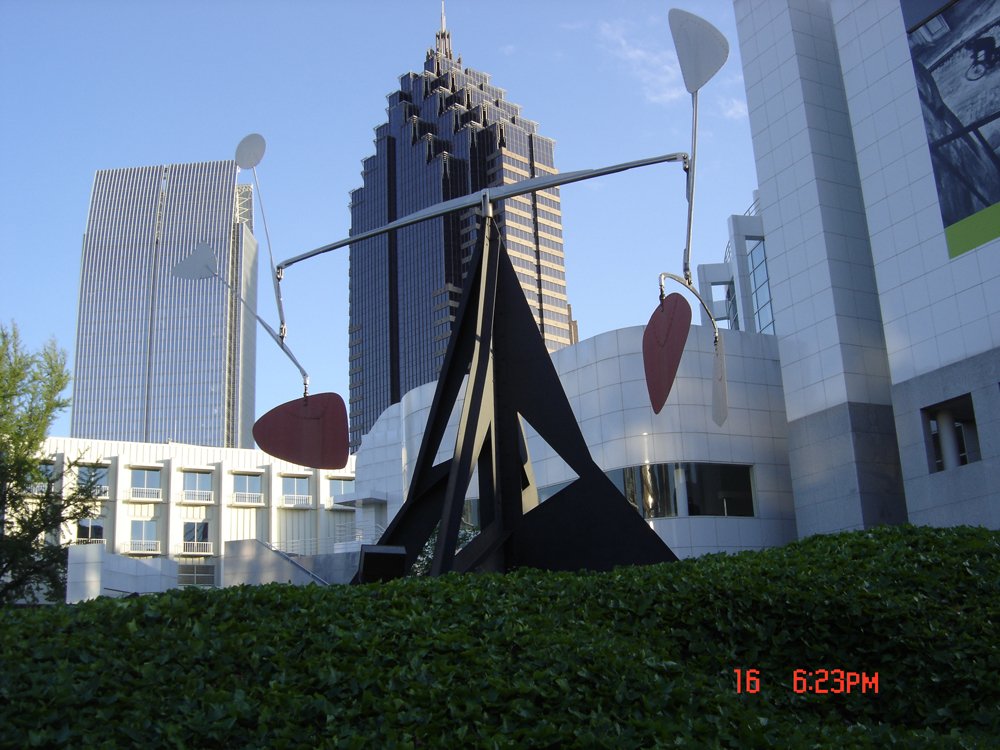
| View from street level of the High Museum |
As you walk up to the new building you get a great view of Midtown and the wonderful Calder mobile in front of the High Museum. MODA occupies the ground floor and seeing this great, little known museum. I love the new space - it's high ceilings and length allow for much larger exhibits than before - the old location used to have to break things up due to being on two floors - now a thing of the past and vastly improved.
The event I went to was held on April 17th by
Yelp - if you haven't looked at Yelp yet you should - or you may have and not realized it. Yelp is responsible for much of the localized restaurant review content you see when doing web searches. Basically anyone can go into Yelp and view reviews on just about any restaurant, and many other venues such as retail stores and events. If you register you can post new reviews and let the world know how you feel about a place or experience. Of course many who post are trolls or shills (trolls disparage anything in general - they usually have only one or at most a handful of reviews and you can usually filter them out; shills are paid to either disparage the competition or write "fake" reviews about an establishment - like trolls they usually have very few reviews and they may have recommendations for another establishment - you should also filter those out). As many of you know, I used to be in the restaurant industry so I tend to write reviews of my various "foodie" experiences. Unless a restaurant visit is exceptionally bad or good, I will try a place a couple of times before reviewing (in case my first visit was a fluke - it happens). If you write a lot of reviews you're asked to join the "Yelp Elite" and you get invited to events - like this occasion at MODA - where you can sample things in a private setting among other Yelp members. Besides being in an exceptional venue, there was food to sample provided by local establishments, plus drinks (this night a Martini and Rossi mix that was actually quite good and something I wouldn't normally order). These events are hosted by Kathleen who is the local Yelp mistress/diva.

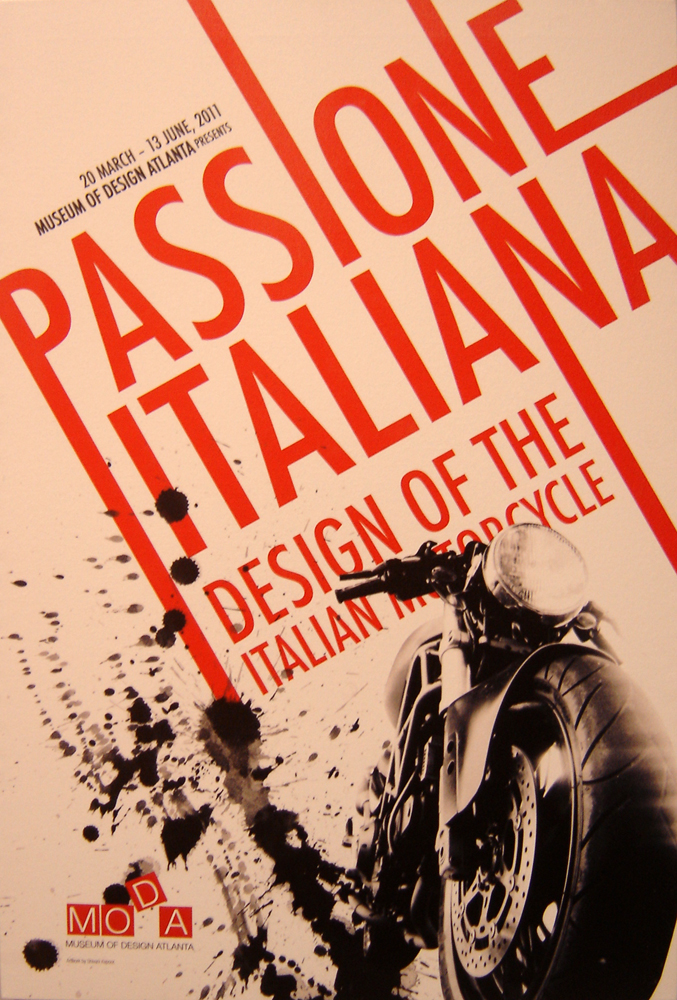
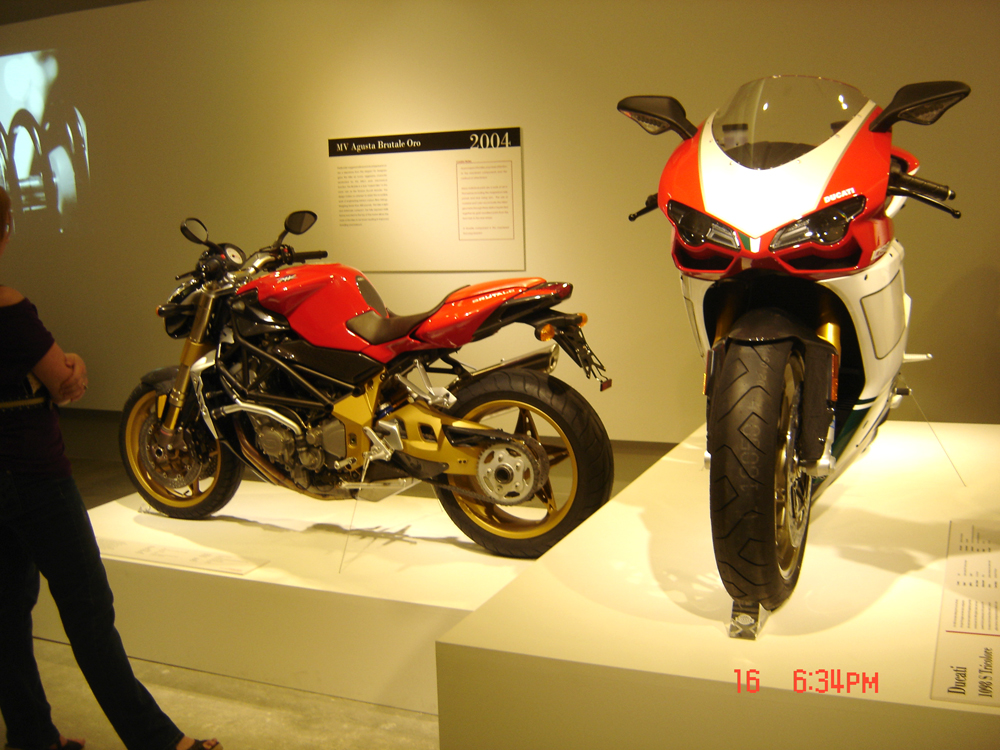
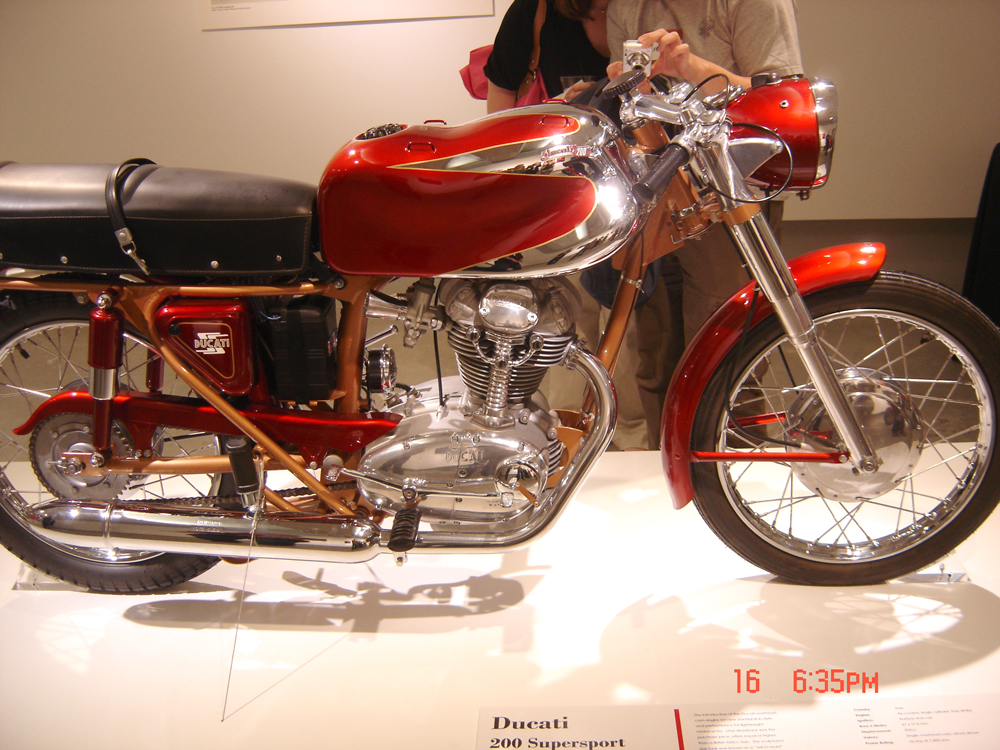
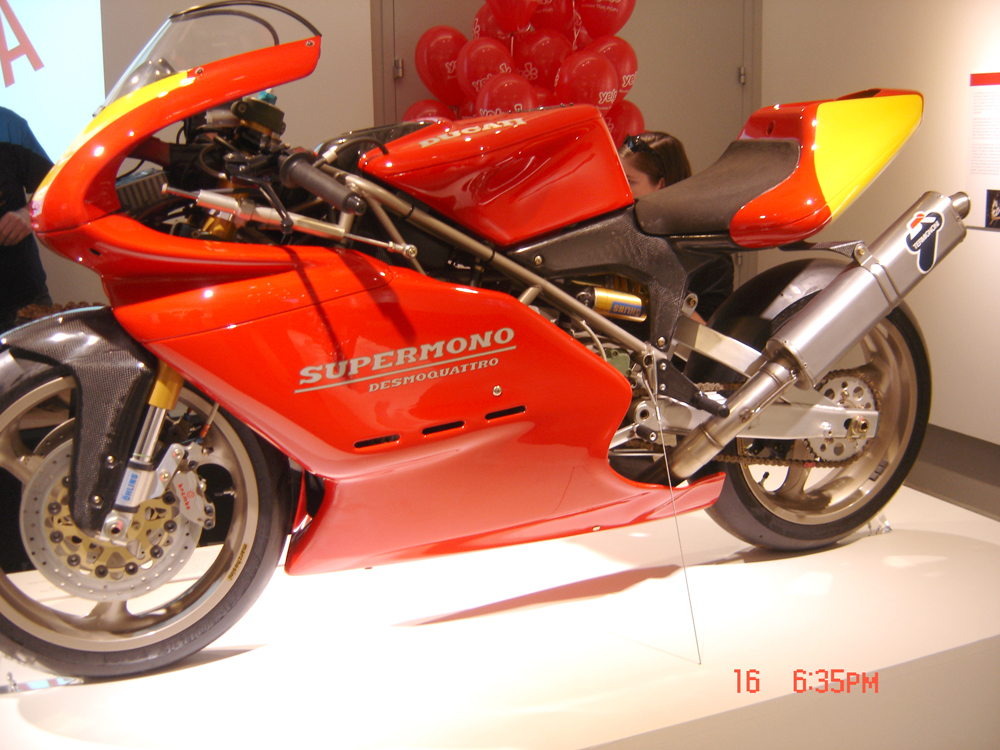
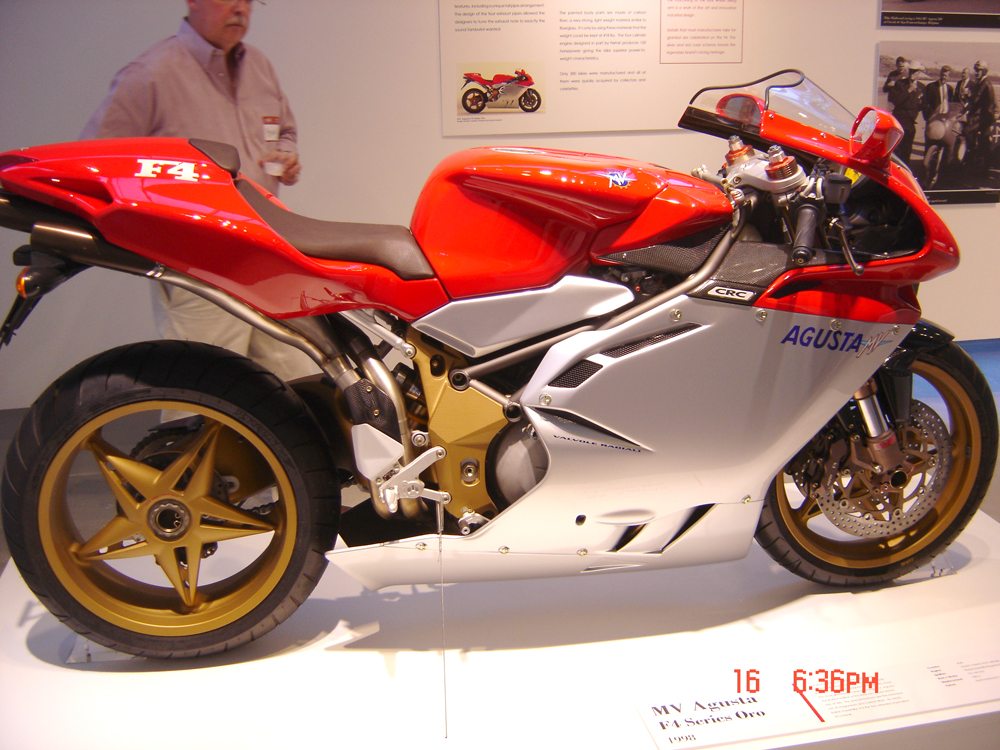
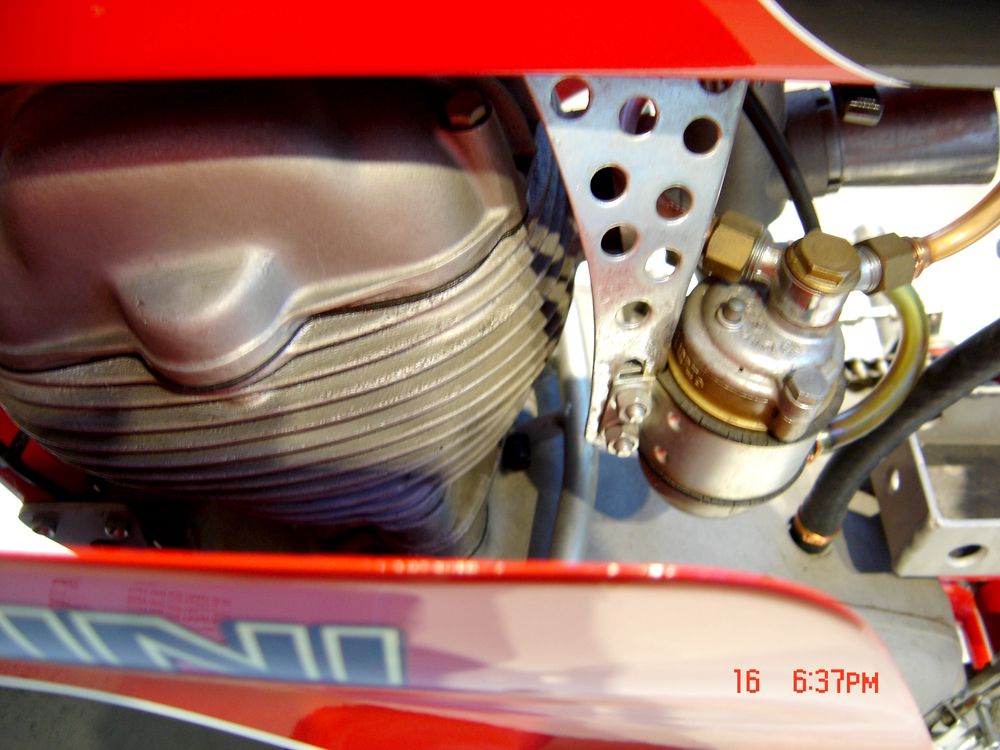
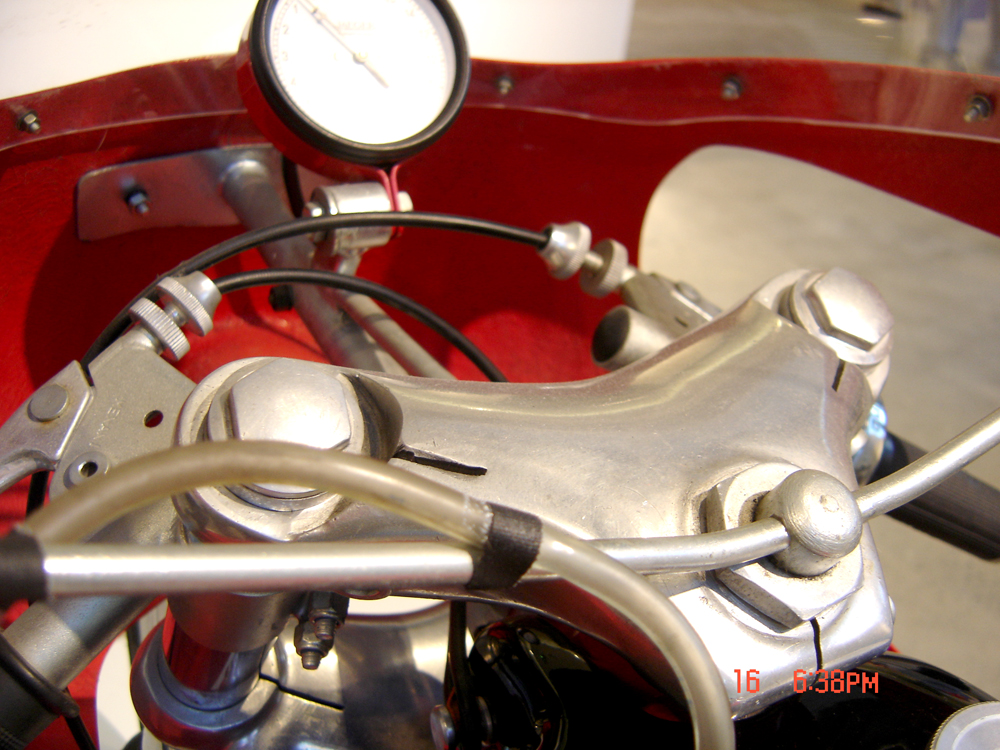
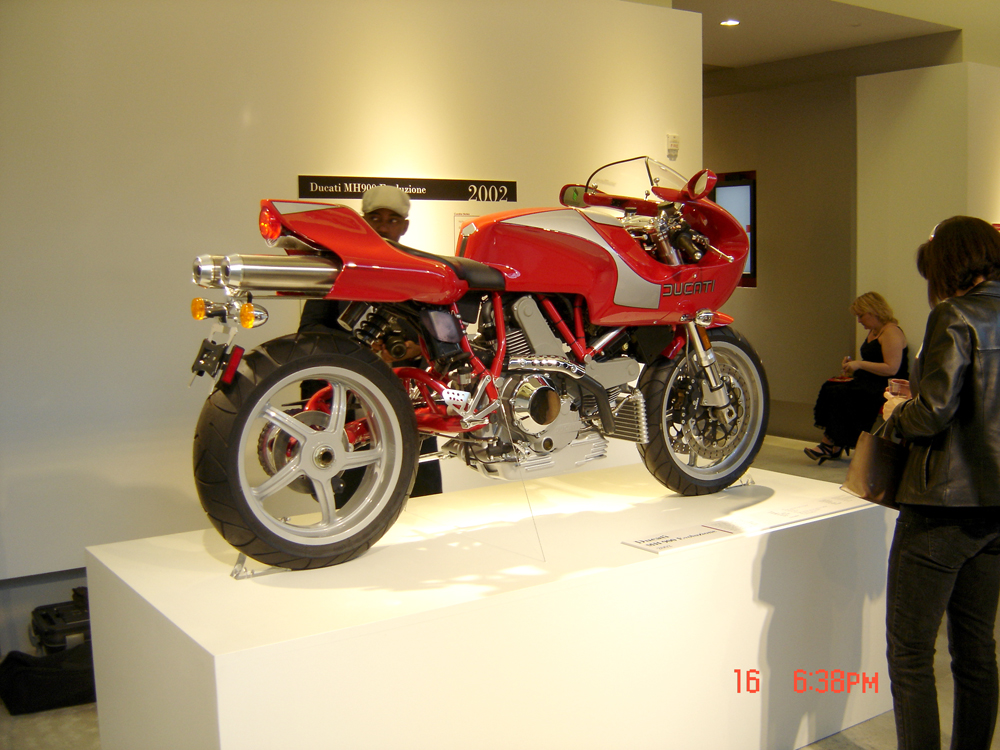
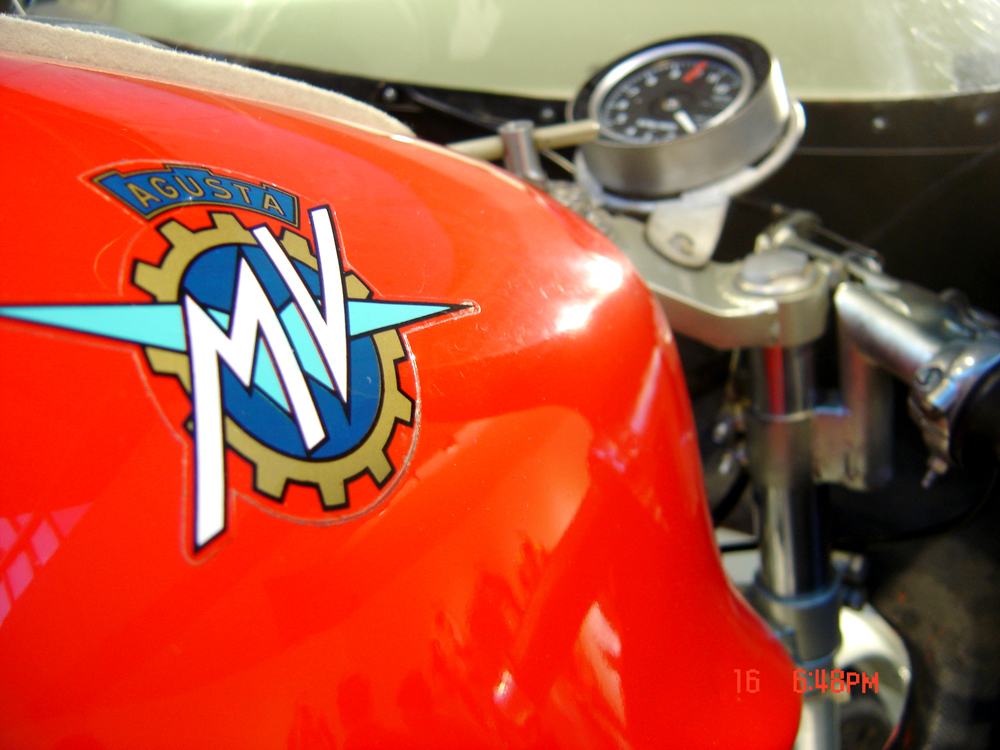
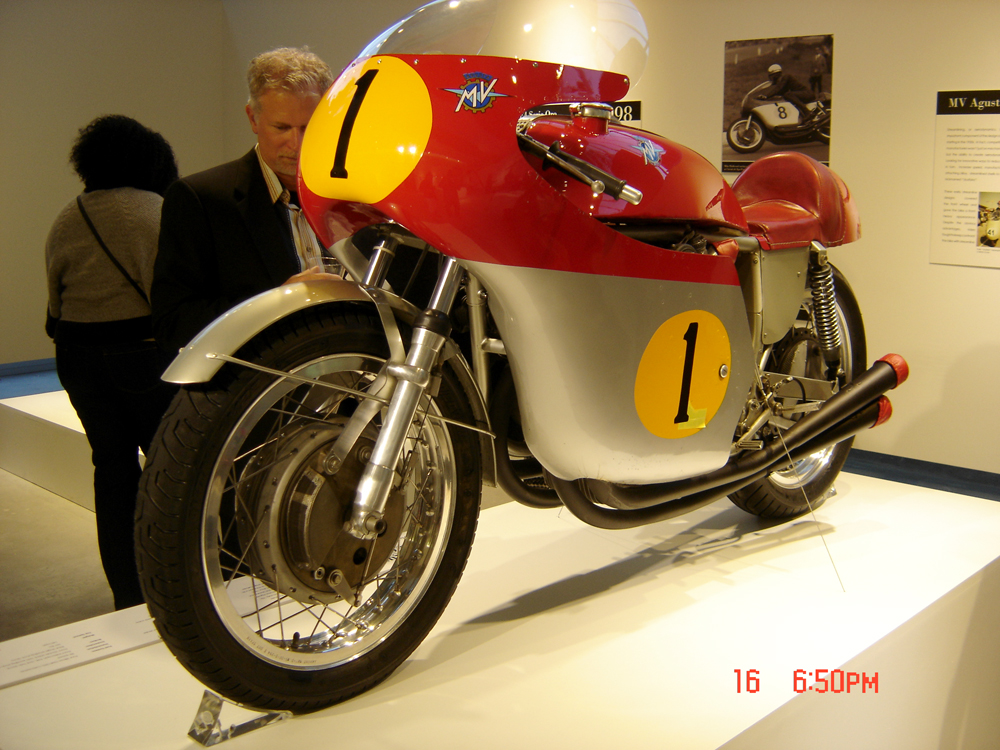
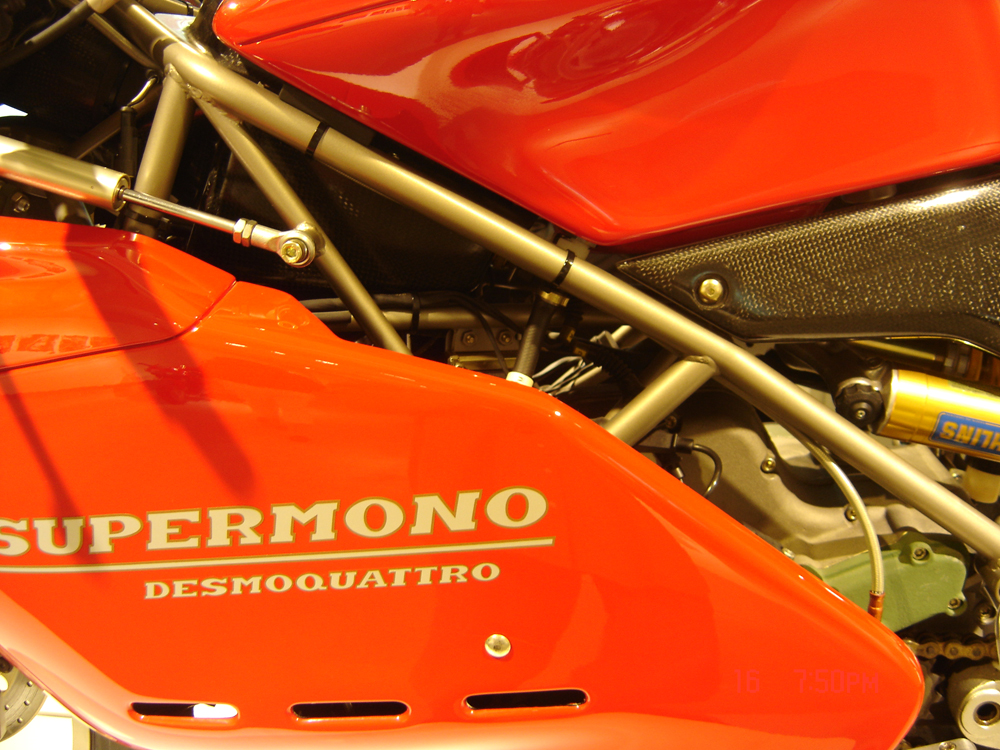
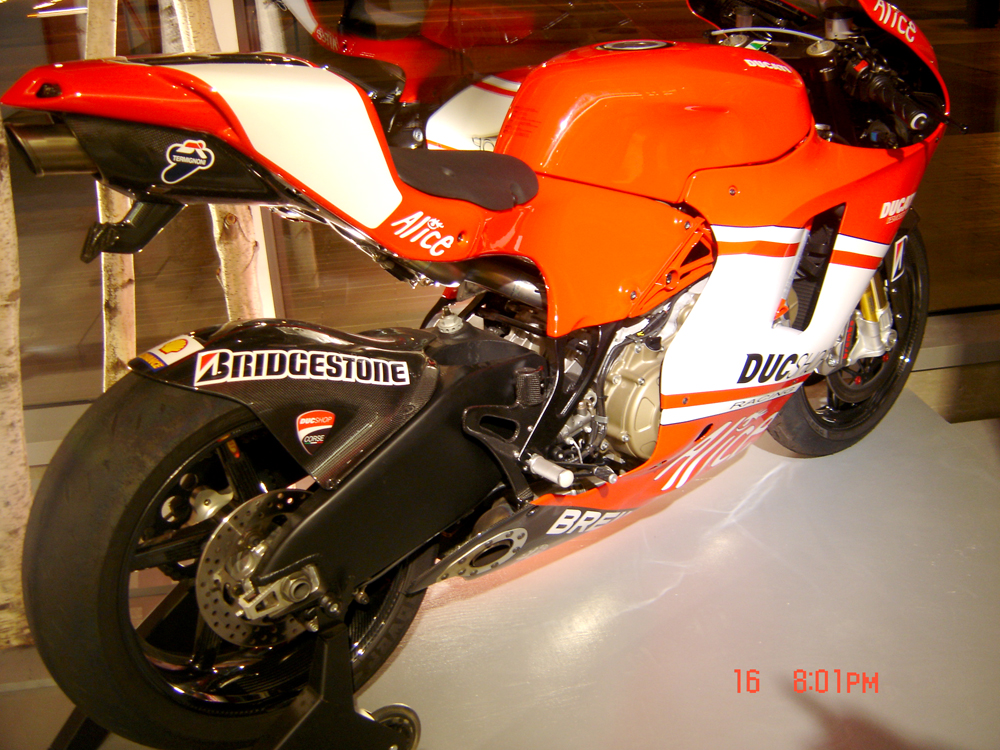
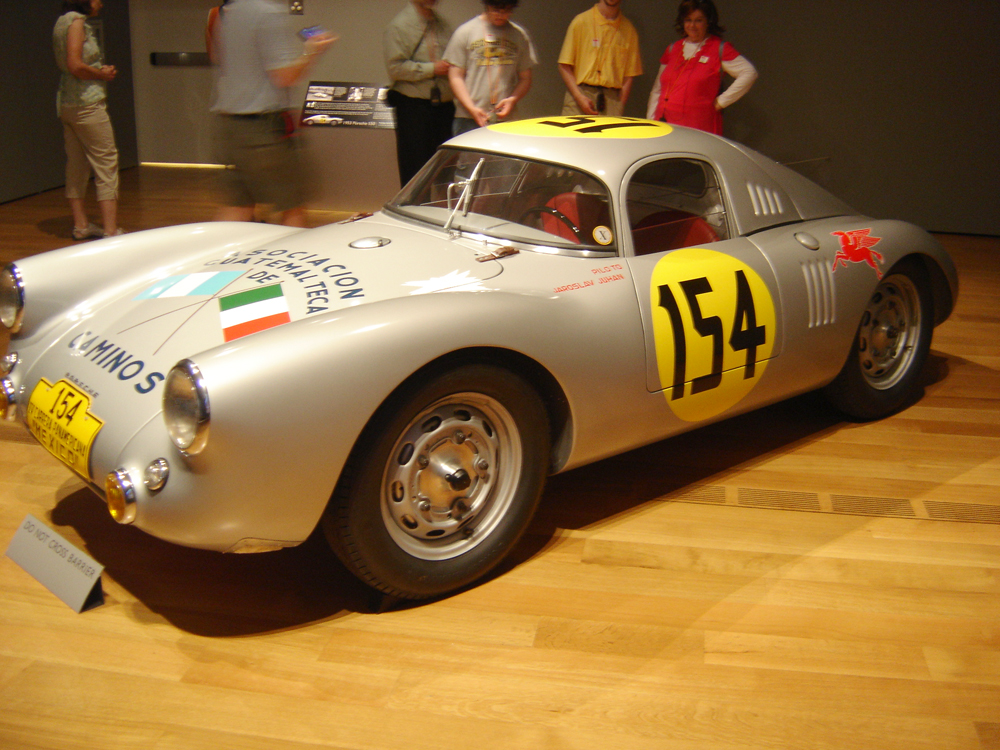
Enough already about the venue and Yelp - let's talk about the exhibit "Passione Italiana - Design of the Italian Motorcycle." I've always been a fan of older motorcycles - especially Nortons and Triumphs, so it's not wonder I'd be interested in this exhibit. These were bikes raced by Ducati, some in really amazing condition. The photos I took reflect my interest - I don't think I took photos of every bike that was there, preferring to concentrate on the classic bikes (actually the event was so well attended it was difficult to get shots of most of the bikes without a bunch of people standing in the way). Anyway, I'll let the photos do the talking.


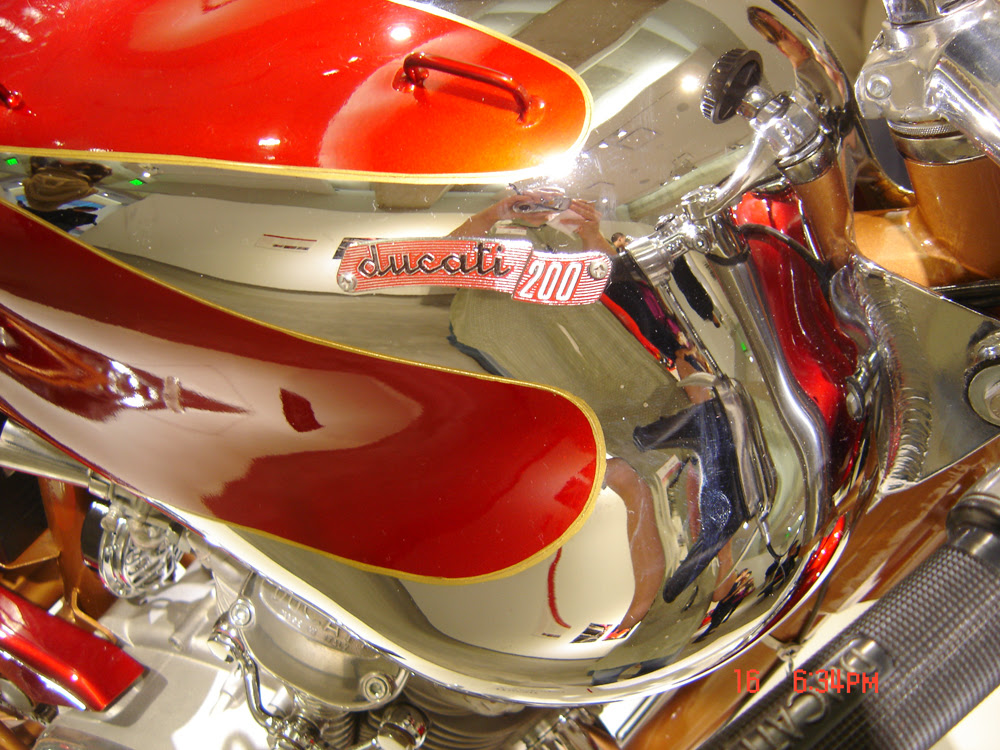


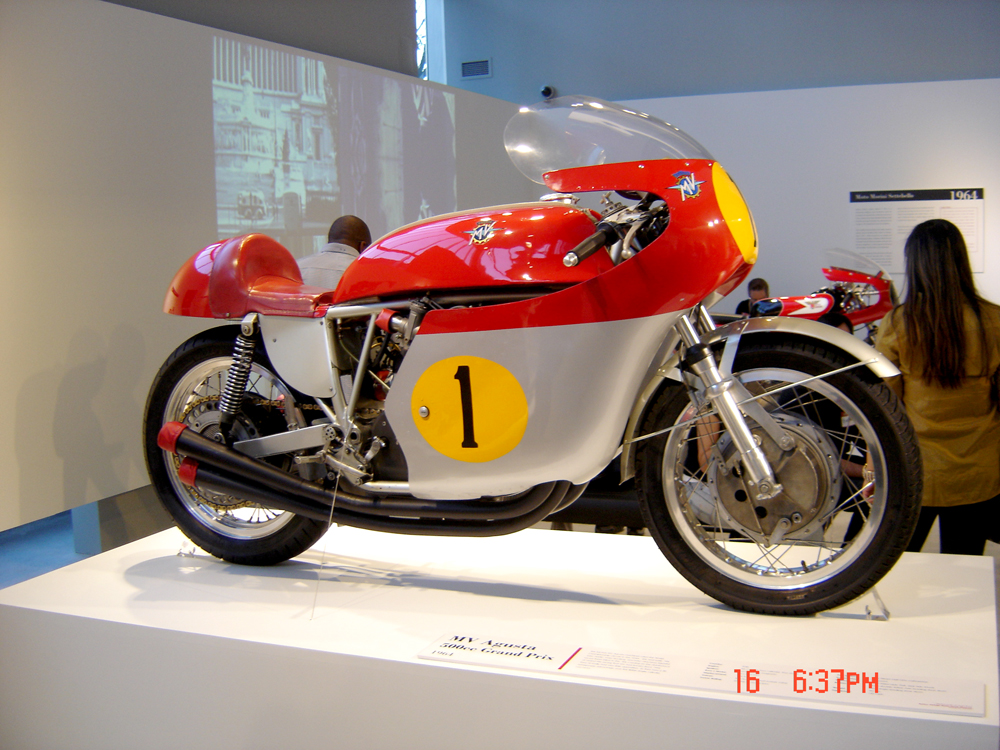
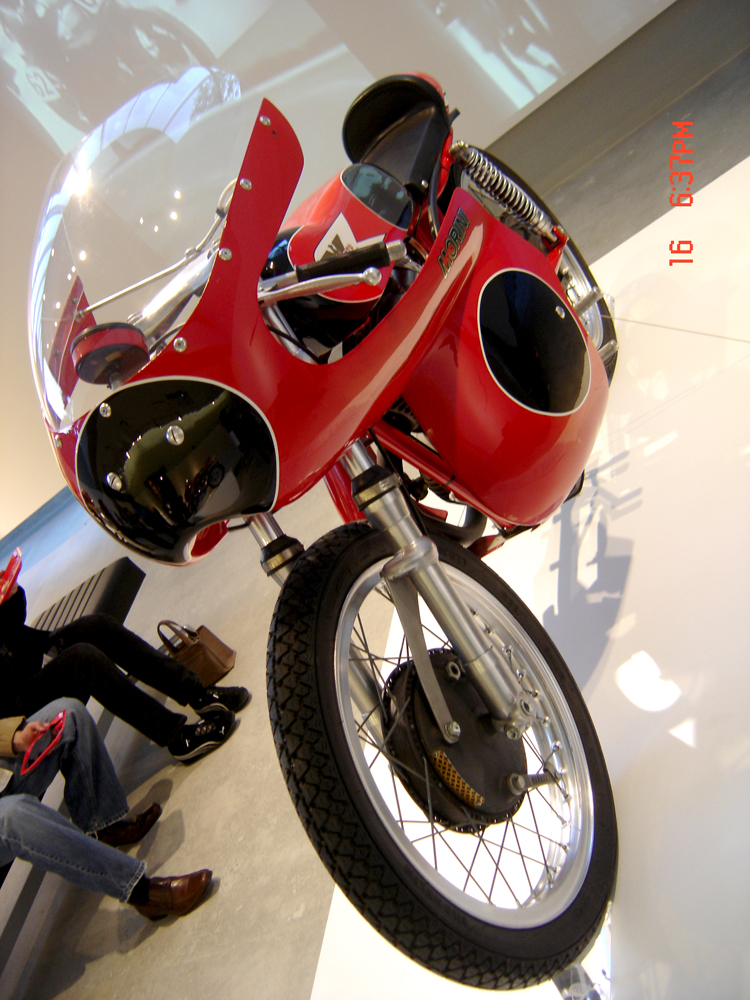
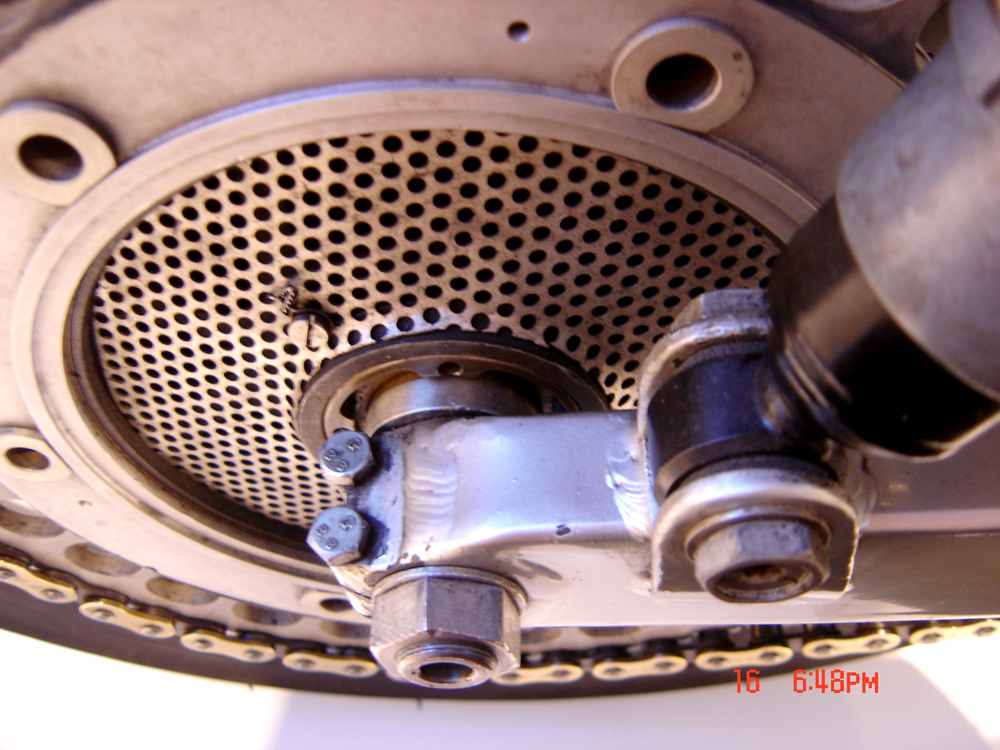
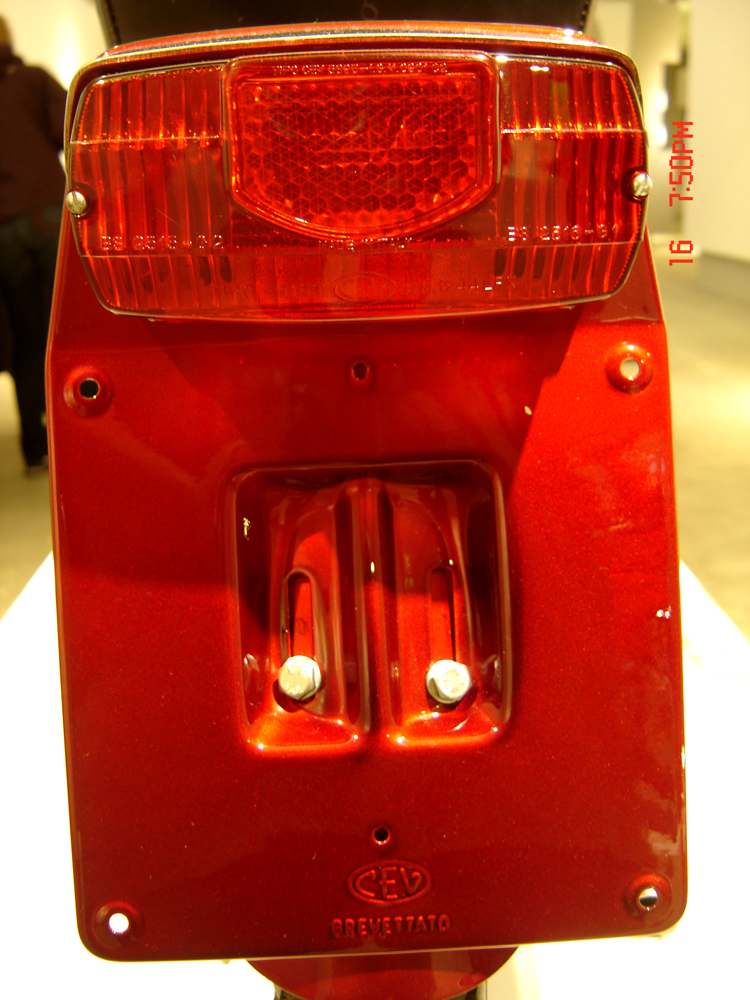
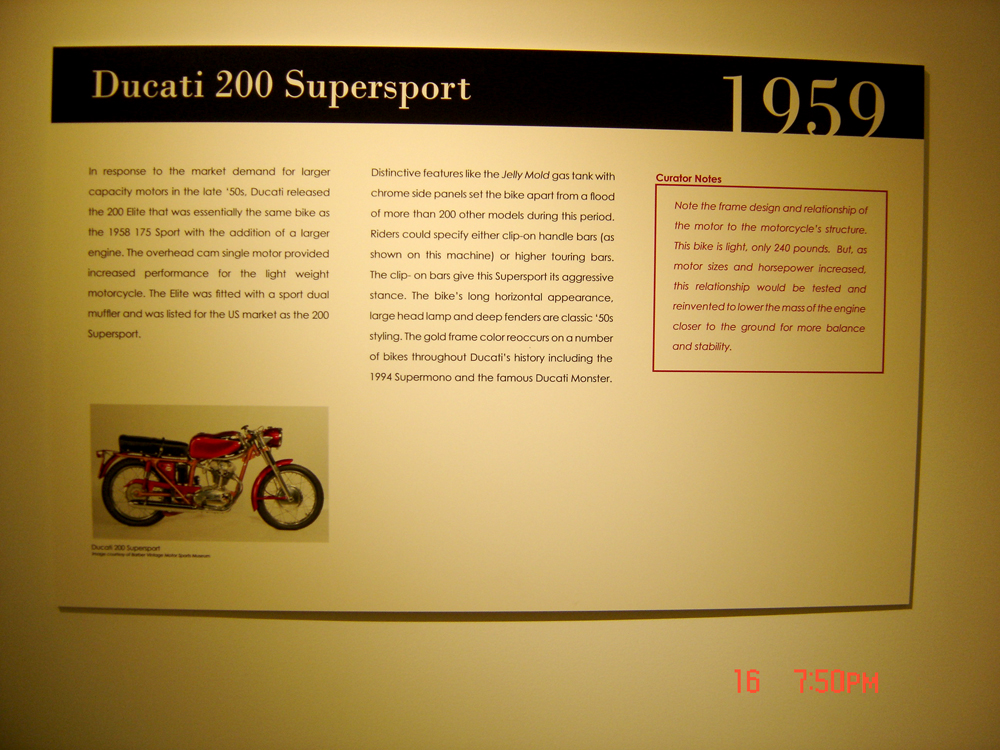
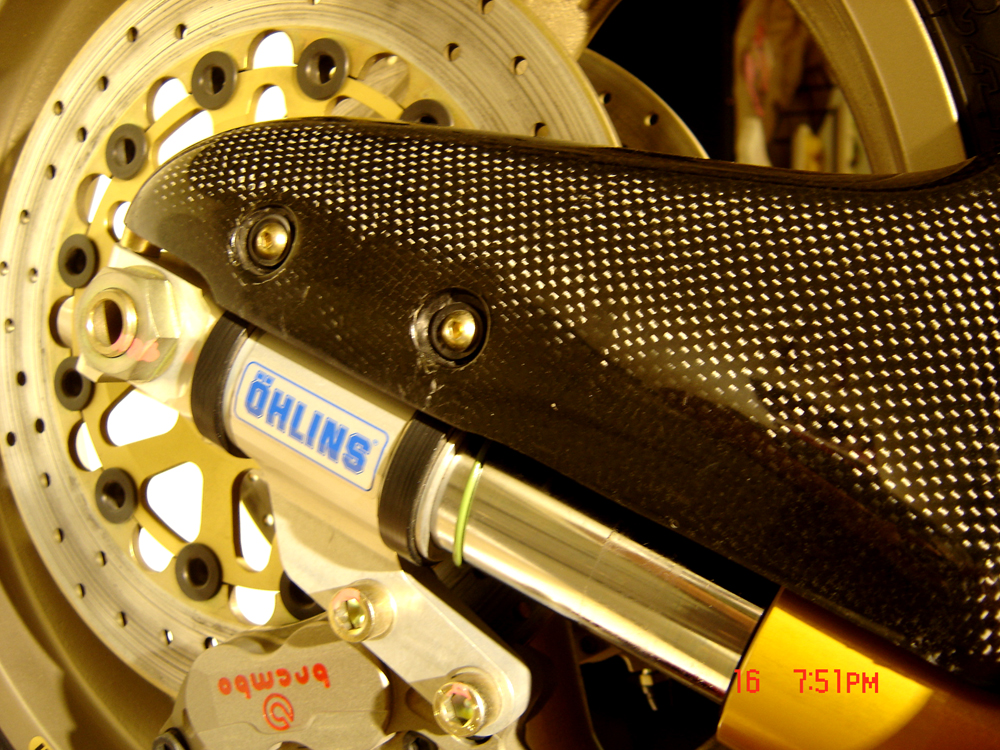
Sorry that the photos meander a bit - I did one photo pass then came back once some of the attendees started to leave (you know, when the food and drinks are gone!). My favorite bikes were the 1959 Ducati 200 Supersport and the 1964 Agusta 500cc Grand Prix. I also got into the industrial design of some of the motor and suspension parts (why there are close ups of those).
-- John